
There is something magical about a fresh blanket of snow. Winter transforms familiar landscapes into minimalist, ethereal wonderlands that beckon photographers outdoors. But translating that chilly beauty onto your camera sensor can be notoriously frustrating.
Ever hiked out in sub-freezing temperatures, only to return home with images that look drab, gray, and uninspired? You aren’t alone. Winter landscape photography comes with a unique set of technical and creative hurdles.
Let’s look at 7 common winter landscape photography mistakes and—more importantly—how to fix them so you can capture stunning, gallery-worthy winter scenes.
1. Underexposing Your Images (The Gray Snow Trap)
If you rely completely on your camera’s built-in meter, your snow photos will almost always turn out looking gray, dingy, and underexposed. Your camera’s meter is calibrated to 18% neutral gray; when it sees a blinding white snowfield, it tries to darken it down to that neutral gray tone.
- The Fix: Use Exposure Compensation. Dial your exposure up by $+0.3$ to $+1.3$ stops (depending on how bright the scene is) to keep the snow looking crisp and white. Alternatively, switch to manual mode and keep an eye on your histogram, making sure the data leans toward the right side without clipping the highlights.
2. Ignoring Battery Drain in the Cold
Lithium-ion batteries hate the cold. Just when you spot the perfect alpenglow on a snow-capped peak, your camera screen flashes a low-battery warning and abruptly shuts down.
- The Fix: Keep spare batteries close to your body heat (like inside an inner jacket pocket) rather than in an outer camera bag pocket. Swap them out as needed, and keep the depleted battery warm inside your jacket—often, it will temporarily regain some charge once it warms back up.
3. Forgetting Lens Condensation (The Thermal Shock Mistake)
Bringing a freezing cold camera straight from a 15°F (-9°C) snowstorm into a warm car or cabin is a recipe for disaster. Condensation will instantly form on the outside and inside of your lens elements and camera body as moisture in the warm air hits the cold glass.
- The Fix: Before you step inside, seal your camera and lenses inside an airtight plastic bag (like a Ziploc bag) while still outside in the cold air. Leave it sealed for 30 to 60 minutes inside the warm building so it can come up to room temperature slowly. The condensation will form on the outside of the plastic bag, keeping your gear safe and dry.
4. Shooting Only in Harsh Midday Light
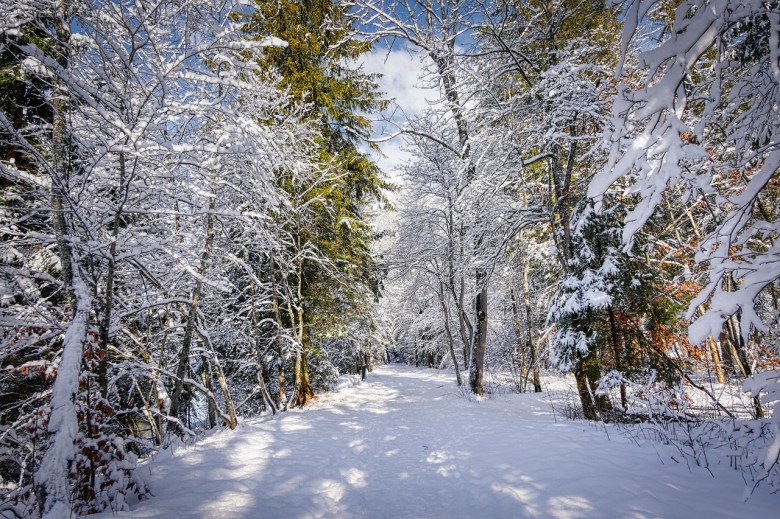
Bright winter sunlight reflecting off fresh snow creates intense contrast, harsh shadows, and blown-out highlights. Shooting at noon often results in flat, blindingly bright images with little depth.
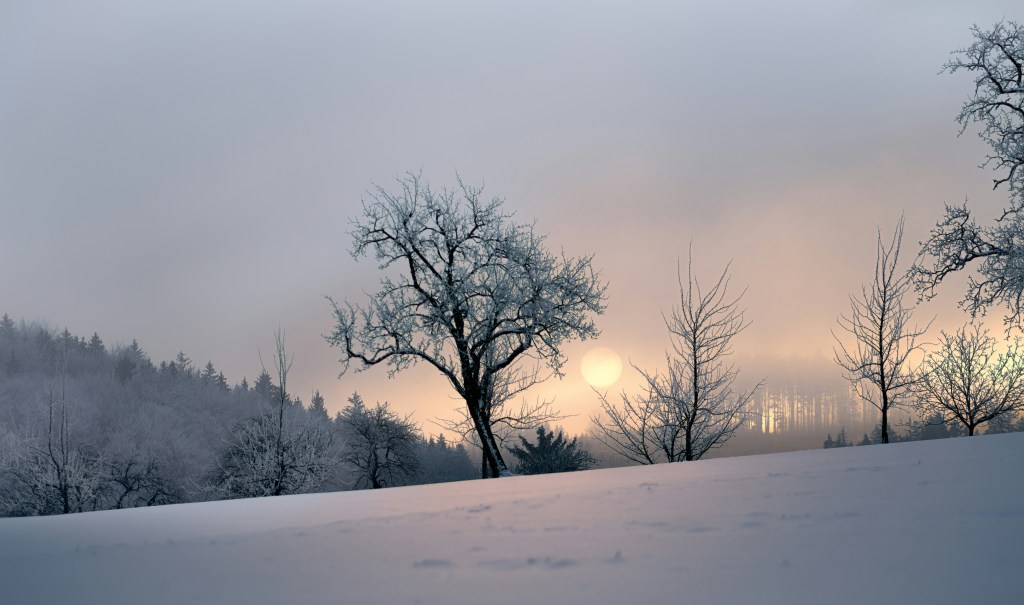
- The Fix: Take advantage of the short winter days by shooting during the golden hours and blue hour. Low-angled winter sun casts long, dramatic shadows that define the contours of snow drifts and mountains. The soft pinks and oranges of a winter sunrise or sunset also contrast gorgeously against cold blue snow shadows.
5. Neglecting Foreground Interest
A vast white plain stretching out to the horizon might look breathtaking in person, but in a 2D photograph, it often translates into a vast, empty expanse of nothingness. Without a strong subject or leading lines, winter photos can easily feel flat.

- The Fix: Look for compelling foreground elements to anchor your composition. A frosted rock, a winding frozen stream, patterned snow ripples, or bare tree branches can guide the viewer’s eye into the frame and add a crucial sense of scale and depth to your shot.
6. Over-Processing the Whites and Blues
When editing winter photos, it’s easy to get carried away. Pushing the clarity slider too high creates dirty halos around trees, and slamming the temperature slider too far into the blue zone makes a sunny winter day look like an arctic horror film.
- The Fix: Keep edits subtle and natural. If you want to enhance the cold mood, adjust the white balance slightly cooler, but balance it by adding warmth back into the highlights or golden tones of the sunset. Use local adjustments (like masks in Lightroom or Photoshop) to selectively brighten snow and add crispness only where needed.
7. Dressing for the Wrong Season (Ignoring Your Own Comfort)
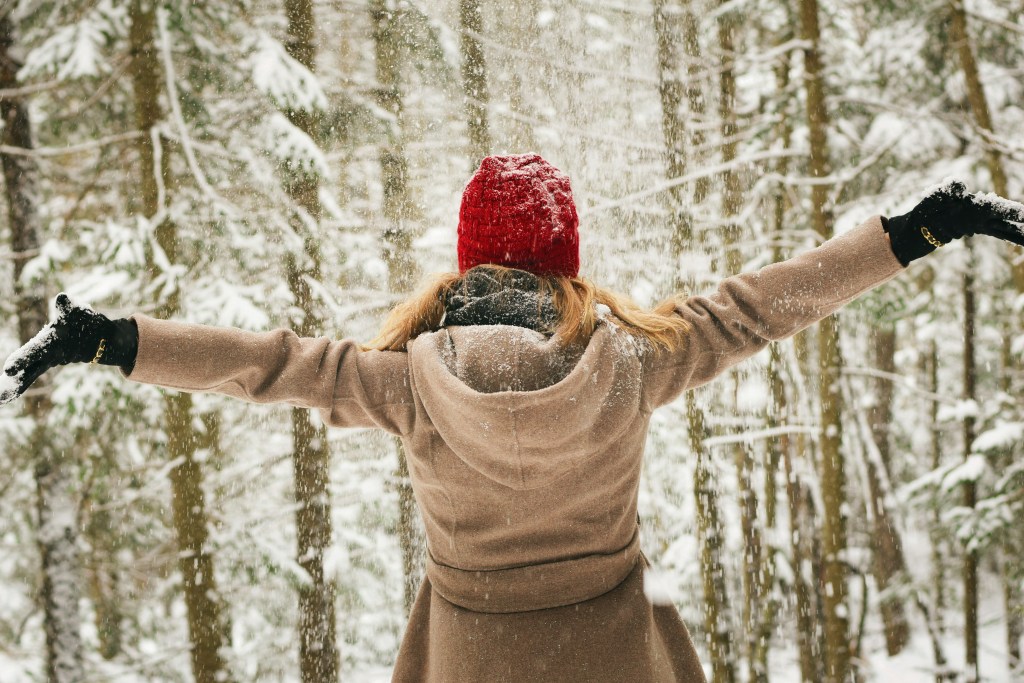
This isn’t just a technical photography mistake—it’s a physical one. If your fingers are numb, your toes are freezing, and you’re shivering uncontrollably, you aren’t going to take your time framing shots, experimenting with compositions, or waiting for the best light. You’ll rush and head home.
- The Fix: Invest in proper cold-weather gear. Layer up, wear windproof outer shells, and get a good pair of photography gloves (flip-top mittens or touchscreen-compatible liners) that allow you to operate your camera dials without exposing bare skin to freezing wind chills.
Final Thoughts
Winter landscape photography requires patience, preparation, and a willingness to brave the elements. But when you dial in your exposure, protect your gear, and find that perfect foreground element, the results are entirely worth the frostbite.
Your Turn: Which of these winter photography mistakes do you find yourself making the most often? Drop a comment below!