When you see the letters ISO what do you think of? Do you think of the International Organization for Standardization? Or do you think of the photography term? If you are here we are going to assume when you see ISO you are thinking of the photography term.
But what is ISO. What does it do? Should you even know what it does or just leave it be?
Well you DO need to know and understand ISO, when it comes to photography. After all, it is one of the sides of the exposure triangle. This guide will help you understand ISO in photography. When you should use it and when you should leave it alone. Let’s jump in and get started:
What is ISO
As you might know I love the acronym KISS (Keep It Simple Stupid). Keeping that in mind, ISO is a camera setting that lightens or darkens a photo. The higher your ISO number is, the brighter your photo will get. That is with a trade off we will discuss in below.
All manual cameras have an adjustable ISO setting and most cellphones do too (if you use Pro mode).
The ISO values usually start at 100. Although on some cameras you can find it as low as 50. Typically, the ISO values go up to ISO 6400 or even higher. Below you will see the common values for ISO.
- ISO 100
- ISO 200
- ISO 400
- ISO 800
- ISO 1600
- ISO 3200
- ISO 6400
- ISO 12800
One thing to know is every time you increase your ISO you double the brightness on your photo. Just every time you up your ISO you introduce more noise/grain.

PROs and CONs of using ISO
There are many PROs and CONs when it comes to using ISO. While adjusting your ISO will make your photos brighter. It can come at a cost of added noise within your photos. But when should you use a higher ISO compared to using the lowest possible ISO.
It all depends on what you are trying to photograph. You won’t want to use a high ISO when shooting a landscape. However, if you are shooting a person outside in low light you’d want to bump the ISO up. You might even want to use a higher ISO when shooting animals outdoors.
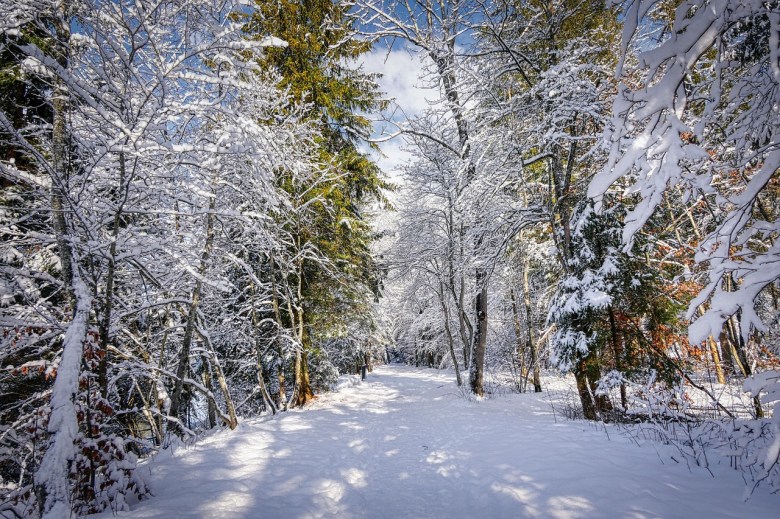
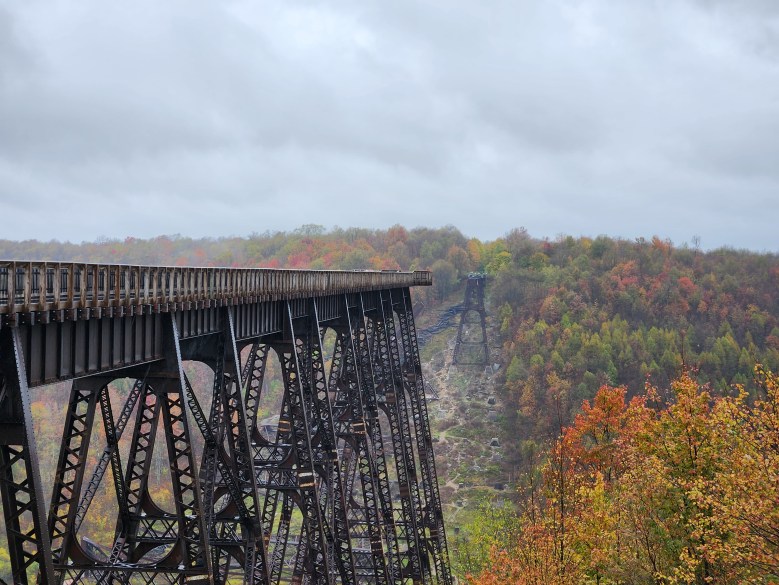
When shooting a landscape you want the image to be as sharp as possible. You don’t want to deal with any noise that you could possibly get when using a higher ISO. That’s why you would increase the shutter speed instead. Having a longer shutter speed rather than a higher ISO is ideal when photographing most landscapes.
When shooting a person in low light you don’t want to increase the shutter speed. If you did, your subject could move and the image would become blurry. That’s why you would increase the ISO. It may produce a little grain or noise but that’s better than a blurry image.
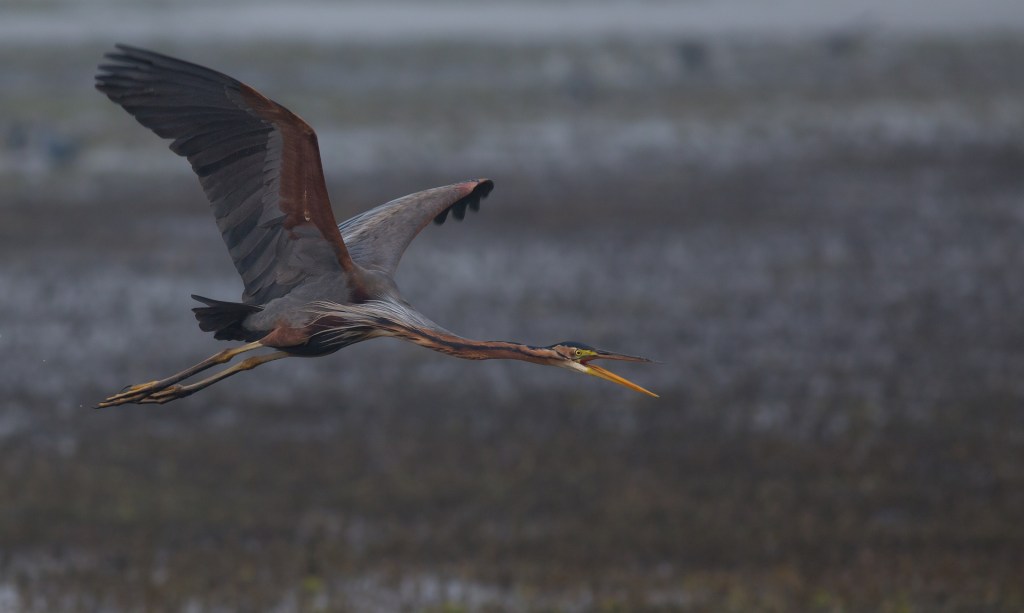
This is the same thing when you are outdoors photographing wildlife. As you can see from the photo above. While the Purple Heron doesn’t so a lot of motion blur (there is a little on the wings). The photo is a little on the darker side and could’ve been improved if a higher ISO was used.
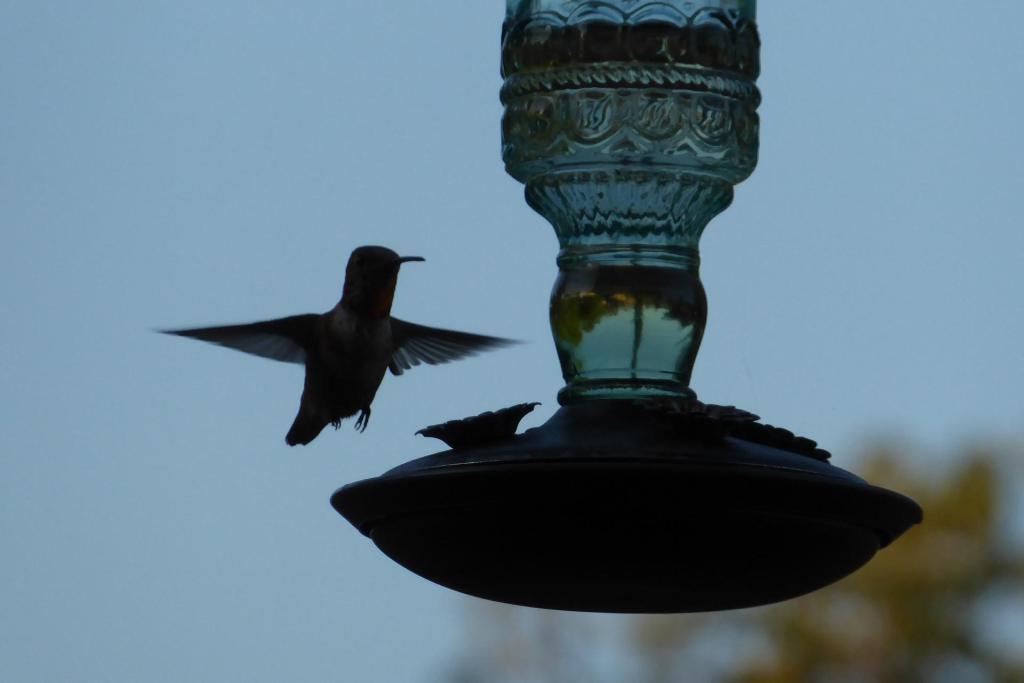
In this photo, again, a high ISO could’ve been used to give a much brighter image. While you can make out it is a hummingbird. You cannot tell what color it is and you have a lot of motion blur. Of course, hummingbirds are very hard to capture without motion blur. Increasing the ISO would have helped out a lot.
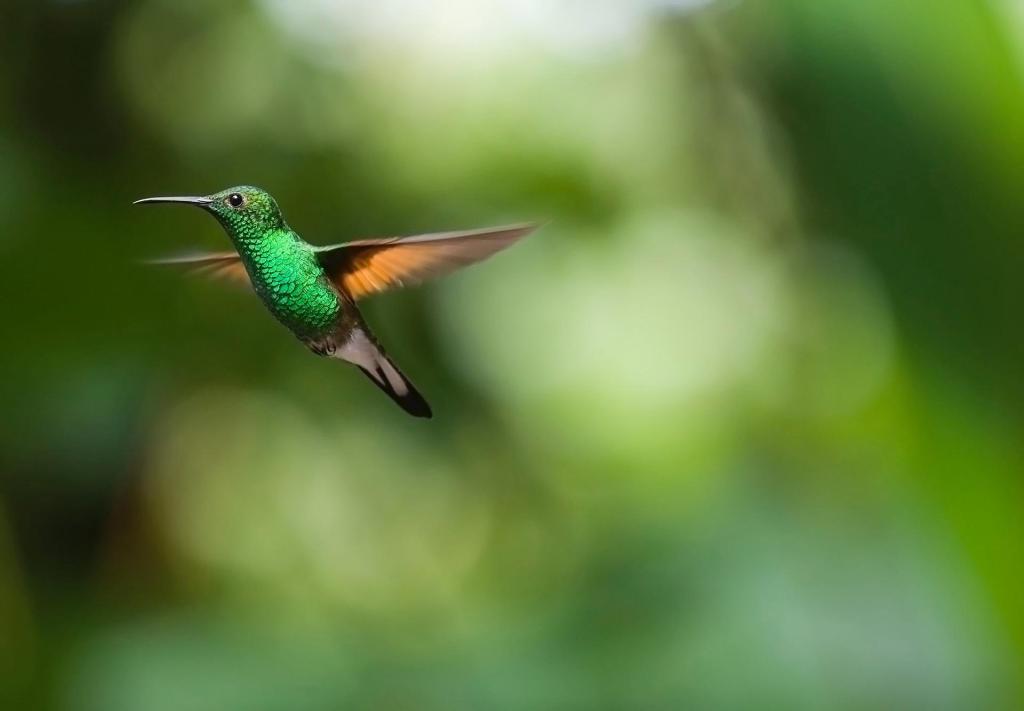
In this photo a higher ISO was used and you can see how much brighter the image is. Of course, you still get that motion blur on the wings. Again, a North American hummingbird flips its wings 53 times per second on average. You need a fast shutter speed with a high ISO to get an image that is nicely exposed.
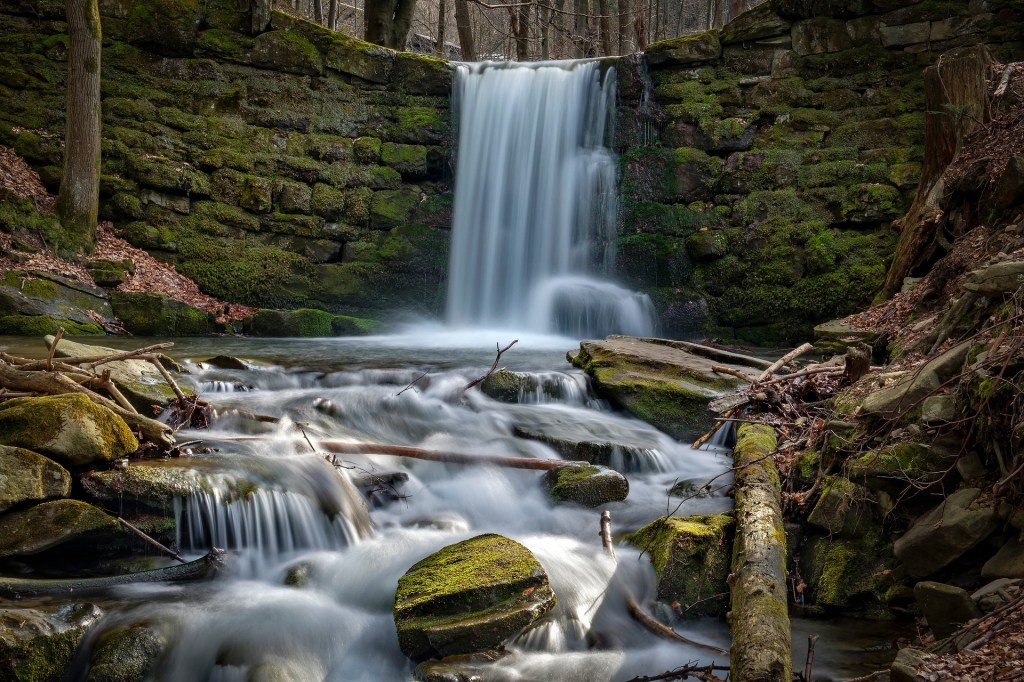
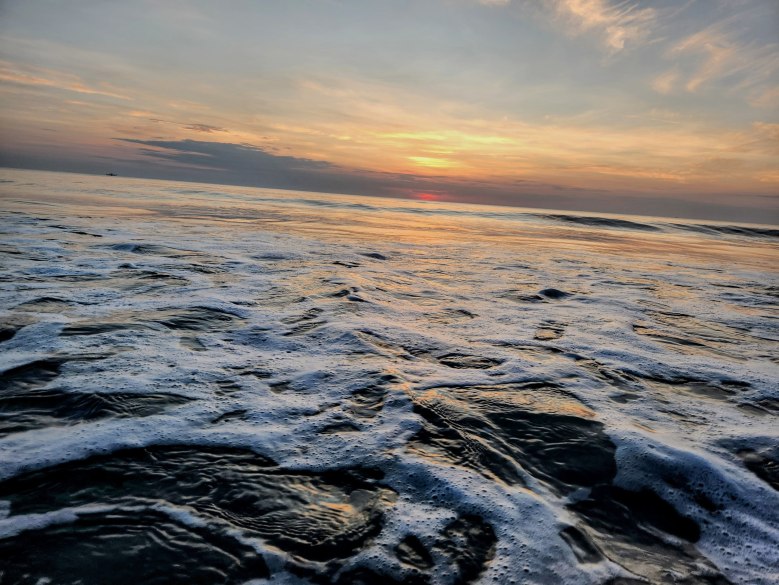
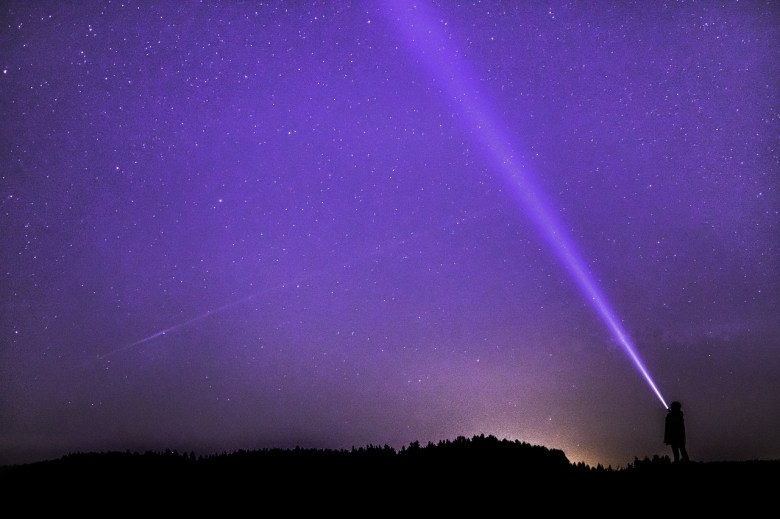
In this image you want to have that beautiful motion blur on the water. If you used a faster shutter speed and a higher ISO you would have a bright image but would’ve lost that blur. By keeping the ISO low (200 in this example) and a longer shutter speed. You have a perfectly exposed photo that isn’t too bright or dark and shows the smooth water flowing over the rocks.
Common Questions
Some photographer’s (myself included when I started out) like to keep the ISO at 100 and just increase the brightness in post processing. While you can do this and the overall image looks fine. It is better to get the photo as close to perfect in camera first.
If you don’t believe me try it out for yourself. Go to a local park and find a great subject to take a photo of. Take one photo with a high ISO (like 800 or 1600) and take another at ISO 100. Of course, make sure you adjust your shutter speed to match what you are photographing. Then compare the two images in your favorite photo editing software and see which looks better.
Chances are the photo with the higher ISO will look better. Since you didn’t have to adjust the brightness all that much. Just remember brightening an image in Lightroom isn’t the same as increasing the ISO. While it make have the same over effect on the image. One is clearly better than the other.
ISO is part of the exposure triangle but doesn’t affect your exposure. The other two sides (Aperture and Shutter Speed) brighten your photo by capturing more light. ISO brightens the photo you’ve already taken. I know that sounds confusing but try to picture this or try it out on your own.
If you take two sperate photos and the only thing you change is the ISO you will not see a difference other than how bright your photo is. If you were to somehow take the same picture of a flying bird you could swap back and forth and see that the one with the higher ISO is much brighter than the one with the lowest ISO. Everything else would remain the same.
Do you have a better understanding of ISO and what it is and how it works? Are you still a little confused by it all? Fear not if that is the case. The best thing you can do is read more about photography in my photography section and get out there and keep shooting photos. Remember, practice makes perfect.
Be sure to check back weekly for new photos, photography and travel guides, and blogs. What do you think we should cover next? Let us know in the comments below.