
Did you just recently get a DSLR or mirrorless camera? Are you looking around for the best tips to help get you started in your photography journey? Well, you are in luck. We put together a great list of essential photography tips for beginners.

Don’t worry this list isn’t just for beginners. It’s for everyone new and old. Photography is an art and like any art you need to practice.
The tips you find below will not only make you want to get out there and practice. They also help build a great foundation. Having a solid foundation also helps improve your craft over time.
Shoot in RAW
Perhaps the best tip out there is to start shooting in RAW format. Now I started off like many shooting in JPEG because I didn’t know there was even a RAW format to choose from. Now I know better and I will often at times shoot in RAW + JPEG.
Sure it takes up more space on my memory cards and hard drives. But to me it is worth it. As a beginner you too should be shooting in both RAW + JPEG. This way as you advance in editing you can go back to your older photos and get a better edit from them.
I bet you are asking what is the difference between the two formats. That’s a great question and we are going to K.I.S.S (Keep It Simple Stupid) the answer.
JPEG is a smaller file size and holds less information for the photo. JPEG files store up to 16 million color shades. It is also a compressed file so the camera will adjust the contrast, sharpness, and saturation of the image so that it is a smaller size. When this happens it makes it very hard to undo or do to your liking a better edited image.
RAW files on the other hand are large unedited files. RAW files store anywhere between 60 billion to 4 trillion color shades depending on the camera. That’s a big difference between a JPEG file. RAW files also are not compressed like JPEG so you can get the most out of your photos. However, you will need a photo editing software like Lightroom.
Know the Exposure Triangle and understand it
Do you know what the exposure triangle is? If not you need to in order to take better photos. It can seem scary when you are first starting out but it really is not that bad.
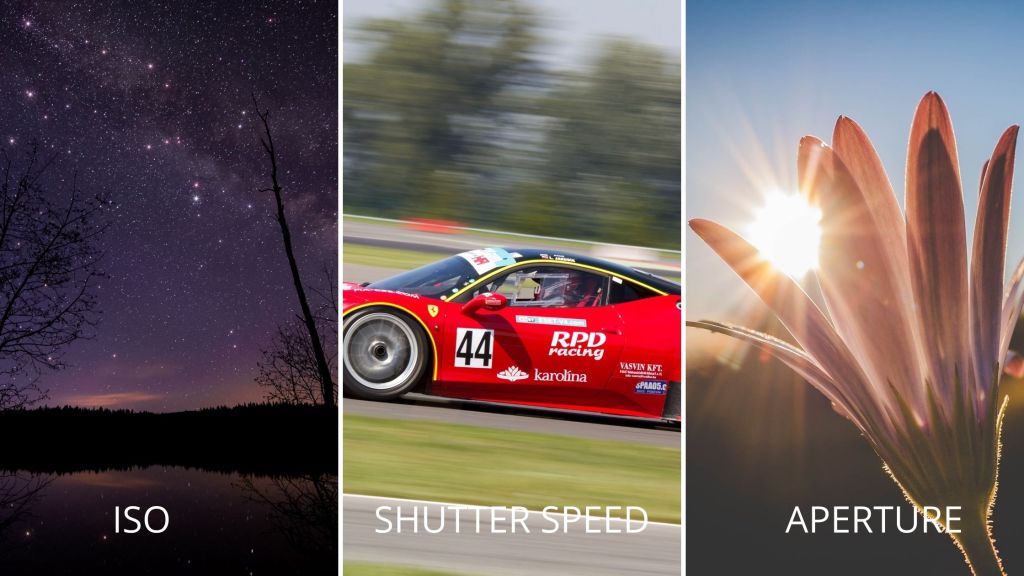
The exposure triangle refers to three simple things. ISO, Shutter Speed, and Aperture. Every single photo turns out a certain way based on those three settings.
ISO: How sensitive your camera is to light. A lower ISO like 100 or 200 is perfect when shooting outdoors during the day time. At night or indoors you might want to increase it to 800 or higher but that depends on your camera and how high you can push it before you get too much “noise” or grain.
Shutter Speed: This is how long your camera’s shutter stays open. The longer your camera’s shutter is open the more light you let in. The shorter it is open the less light hits the camera’s sensor.
Aperture: The aperture controls how much light you let in. The higher the f– number the less light that gets in. The lower the f – number the more light that gets in.
The best way to learn the exposure triangle is to go out in the world and practice. Go out and take a shot. Then adjust the shutter speed, ISO, or aperture and see how that changed the look of your photo. After doing this for a while you will start to grasp the relationship between the three.
Use ISO
A lot of photographers I know are a little scared to mess around with the ISO. A lot of them just set it to 100 and forget it. However, you shouldn’t be scared to use it.
Just know the limits of your camera. Sure your camera might go higher than 6400 but should you go that high? Probably not. But don’t be afraid to use 1600 or even 3200. It all depends on your camera and what you are trying to accomplish with your photo.
Keep Steady
You need to learn how to hold your camera correctly. This will help you prevent camera shake. If you are shooting in low light conditions I suggest using a tripod. Plus if you are shooting with a shutter speed longer than 1/60 I would use a tripod.

So how do you hold your camera correctly? With two hands of course. Keep your right hand on the grip on the right side. Keep your left hand under the camera or on the lens. Also don’t “chicken wing” it. Keep your arms as close to your sides as you can.
If you are still having trouble keeping the camera steady you can lean against a wall. Take a knee. Or even lay down in the prone position. I’ve always looked at it like when I was on the range in the USMC. I will use those positions to keep my camera nice and steady.
Learn and use Shutter and Aperture Priority modes
Everyone knows to use manual mode over auto. Why not try to use Shutter or Aperture Priority modes. Sometimes you just want the camera to do some of the work. It just depends on the type of photos you are trying to capture.
Both modes are pretty easy to use. For Shutter Priority mode you set the shutter speed you want and the camera will adjust the aperture to get you the correct exposure. With Aperture Priority mode you set the aperture you want to use and the camera will adjust the shutter speed to get you the correct exposure.
These modes come in hand when you want to take a bunch of photos in quick succession and might not have a chance to adjust everything for the correct exposure. Give both of these modes a try and see if they work out for you.
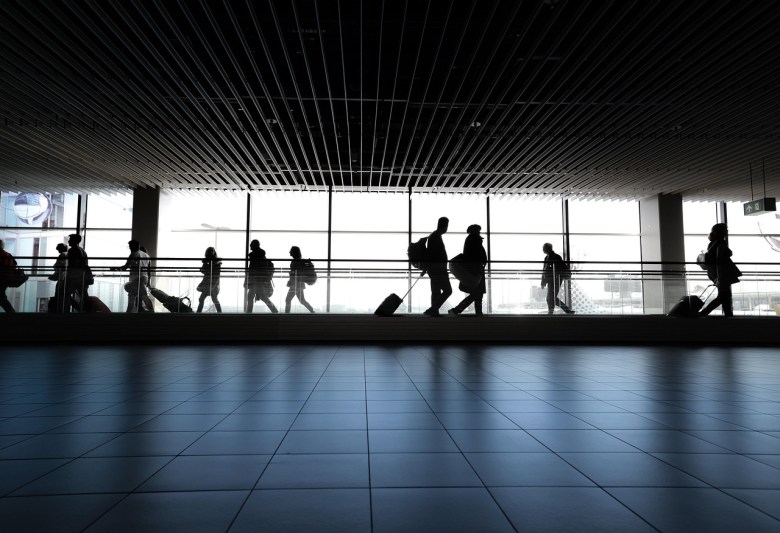
Pay attention to the background
This can often be overlooked and sometimes you won’t even realize until you are home and editing your photos. Just give a quick look around before you take a photo. Do you really want a bear popping a squat while taking a beautiful landscape photo?
How about a kid in the background digging for gold? Or a third arm coming out of your subject! While some of these surprises can be quite funny. Most of the time they don’t make great photos. Just pay attention to who, what, and where you are shooting.
Invest in a tripod
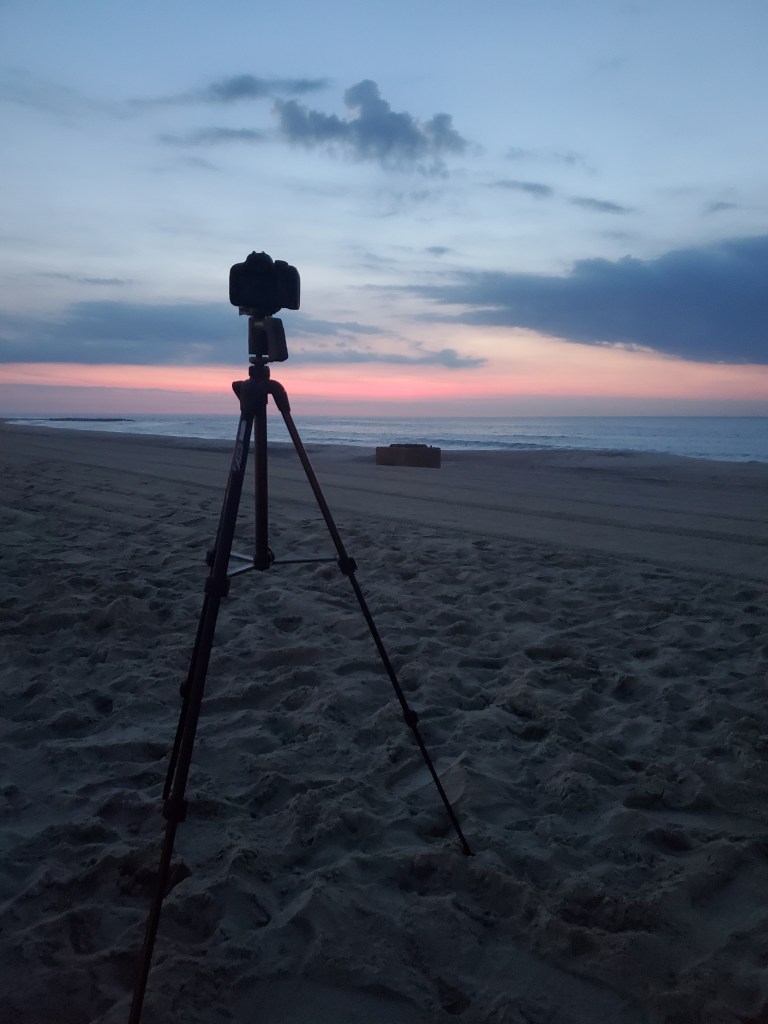
One of the best pieces of photography equipment you can purchase when a beginner photographer is a good tripod. The more you spend on a tripod the better it will be. However, you can also buy a cheap one.
Just because it is cheap doesn’t mean it isn’t any good. All it means in a year or two you will be spending more to buy a better one that fits your needs more. The important thing to remember when buying a tripod is to get a nice sturdy one. The last thing you want is your tripod to tip over while your camera is attached to it.
Check out our post on 10 reasons why you need a tripod. A tripod is a great investment for any beginner photographer.
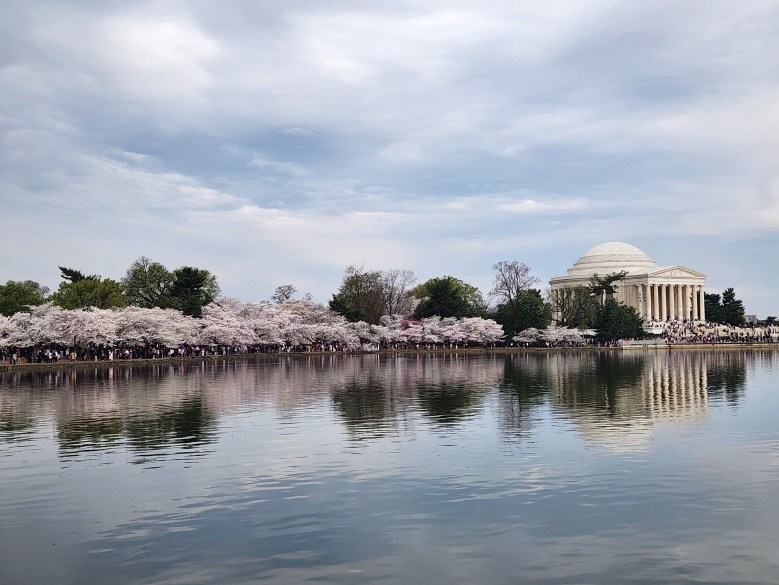
Understand Composition
You have probably heard of the rule of thirds. While that is an important “rule” when it comes to photography it is not the only composition a photographer should use. Of course, you should fully understand the rule of thirds before you break it.

A great photographer uses many different compositions to get amazing photos. Trying filling the frame or using leading lines. Also try playing around with perspective. Get high or get low. Just a couple of steps to the left or right, forward or backwards can make a huge difference.
Early or Late
It’s no secret that some of the best light you will get is in the early morning hours right before and after sunrise. This also holds true for the time right before and after sunset. It’s called the golden hour for a reason.
Technically, the golden hour is an hour after sunrise and an hour before sunset. However, right before sunrise and right after sunset offer amazing light too. All you have to do is be out there to take advantage of that amazing light.
As you would expect, the early morning hours are less crowded than in the evening. Of course, this also depends on where you are going.
Make mistakes but learn from them
Making mistakes is a part of life. It just so happens it is also a part of photography. You are going to make mistakes. Whether that is an over or under exposed image, Blurry or poorly set up composition. We all make them.
What sets us apart from others is we learn from our mistakes. Did you forget to set your ISO back to 100 after being out late and shooting outside overnight? Well if you did you know to check your ISO again in the morning. Did you get to your location and forget the memory card? Yup, I’ve done that one before. However, guess what! I learned from that mistake and I keep extra cards in my bag just in case I forget it again.
Do you think you now have a better understanding of photography after reading these 10 tips? We think these are the most essential photography tips for beginners. While there are many more tips to come. These are the most important ones a beginner photographer should know.
Just remember the most important tip of them all! Get out there and start taking photos. These tips won’t help you if your camera is still in the bag. Let it out and start snapping the beauty you see around you.
Are there any tips that you find that are essential for beginners that we didn’t list? Let us know in the comments below. We are planning on doing a part two to this list with at least ten more tips. For now thank you for reading and don’t forget to follow us on social media by clicking the links or icons below.


Thank you very useful article.
LikeLike
My pleasure. Glad it could help.
LikeLiked by 1 person