Do you ever gaze at stunning night photos and wonder how they’re captured with such clarity and beauty? The secrets to mastering night photography are about to be unveiled in this comprehensive guide.
From understanding the basics to choosing the right gear and mastering exposure settings, you’ll discover all you need to know to create captivating night shots that will leave everyone in awe.
So, get ready to delve into the world of night photography and elevate your skills to new heights.
Understanding the Basics of Night Photography
To begin mastering night photography, it’s essential to first understand the basics of capturing stunning shots in low light conditions. Before diving into the technical details of exposure settings and post-processing techniques, it’s crucial to grasp the foundational principles that govern night photography. By familiarizing yourself with these fundamental concepts, you’ll be better equipped to navigate the complexities of shooting in the dark and produce images that truly shine.
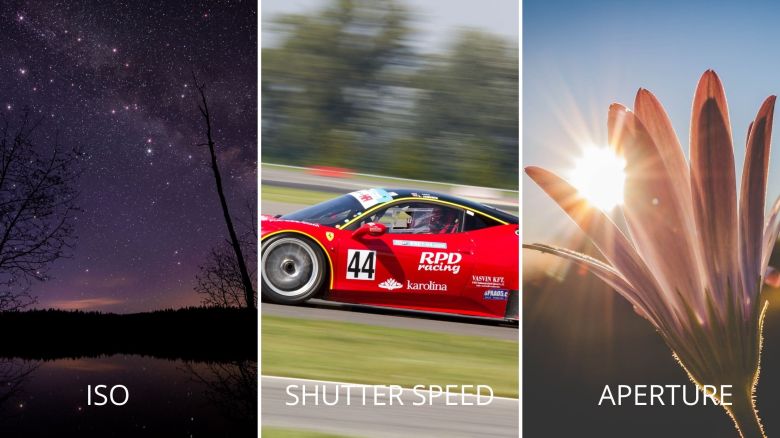
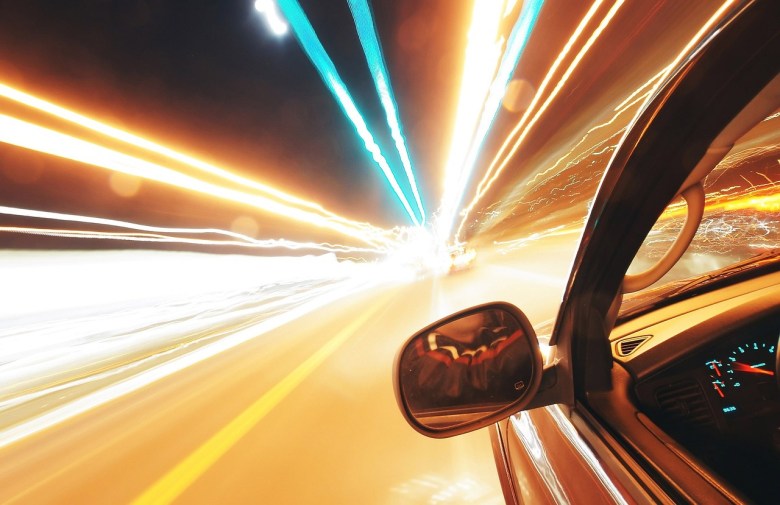
You should know and understand the exposure triangle and how changing your ISO, Shutter Speed, or Aperture will change your photo. Night photography can be very challenging but the rewards can be truly stunning. From general shots of the stars and the Milky Way Galaxy, to light trails from tail lights on cars passing by. Even the bright lights in the city make for interesting photos.
One more important thing to remember or just learn how to do before you start your journey with night photography is to learn how to use manual focus. Since it is dark out the auto focus in your camera will have trouble focusing. To solve this problem, do it yourself by setting up your focus manually. It will help save your time and some headaches later on.
But in order to get those great shots, you need to understand the basics from the exposure triangle to manual focus. Just go out and play with the settings on your camera. Adjust the ISO and see how far you can push your camera before the grain becomes too much. For my Canon T7i it’s about 1600.
Choosing the Right Gear for Night Shots
When it comes to capturing spectacular night shots, choosing the right gear can make all the difference. One essential piece of equipment is a sturdy tripod to keep your camera steady during long exposures. A remote shutter release can also come in handy to prevent camera shake when taking the shot.
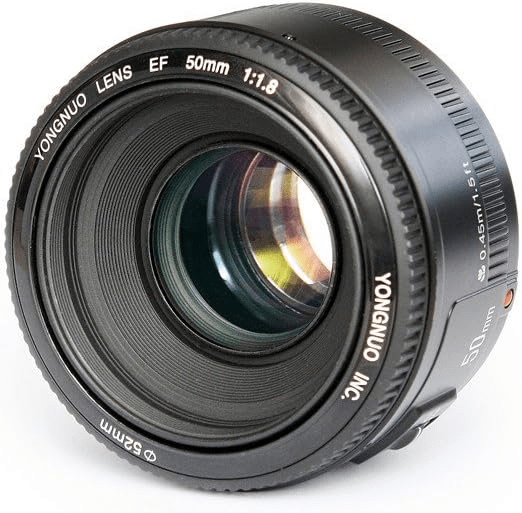
Additionally, it’s crucial to have a fast lens with a wide aperture, such as f/2.8 or lower, to let in as much light as possible. Investing in a camera body with good low-light performance can also greatly improve the quality of your night photos.
You can find a 50mm F1.8 lens for your camera on Amazon for under $200 depending on your camera brand. It’s a great price point to try out night photography that won’t break the bank. Let’s face it, camera gear is expensive and who wants to spend thousands of dollars on gear and barely ever use it?
By selecting the right gear tailored to night photography, you’ll set yourself up for success in mastering exposure settings for stunning nighttime shots.
Mastering Exposure Settings for Night Photography
Mastering exposure settings is key to achieving the perfect night shot. It’s important to understand how different settings, such as ISO, aperture, and shutter speed, can impact the overall look of your photo. In low-light conditions, increasing your camera’s ISO can help brighten the image, but be mindful of potential noise.
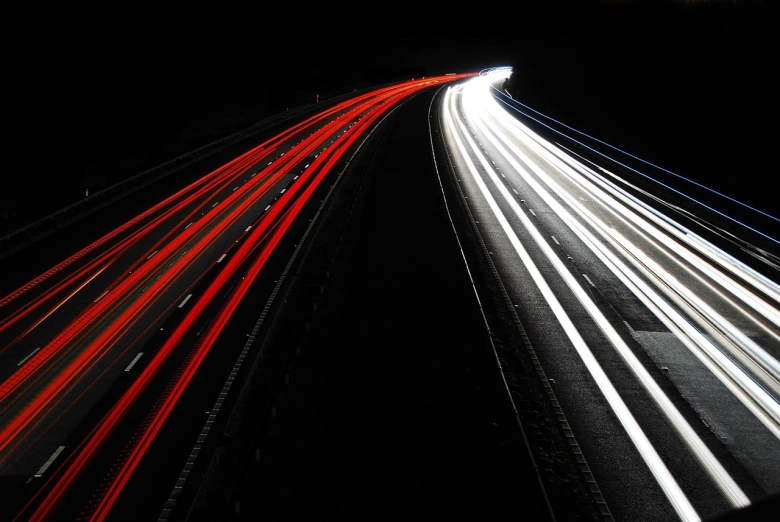
Adjusting your aperture can control the depth of field, allowing you to focus on specific elements in the scene. Finally, experimenting with shutter speed can produce different effects, from capturing movement to creating dramatic light trails.
Keep in mind that you should be using a tripod when shooting at night. You won’t be able to get sharp images if you are holding your camera. At night you will need to use a slow shutter speed and if you are holding it by hand you are bound to get some motion blur. A tripod will eliminate that. Of course, you could bump up your ISO to a high level but then your photo will be full of noise and not come out looking good.
By mastering exposure settings, you’ll be ready to explore creative techniques for night photography.
Utilizing Creative Techniques for Night Shots
One creative technique for night photography is light painting, where you use a flashlight or other light source to selectively illuminate areas of the scene while keeping the shutter open. This technique can add an artistic touch to your photos and allow you to highlight specific subjects in the dark.
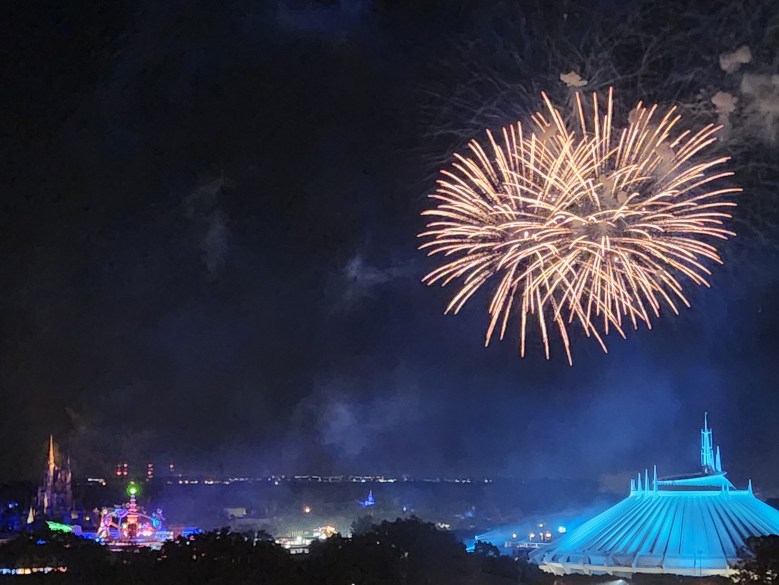
Another technique to consider is long exposure photography, which involves keeping the shutter open for an extended period to capture the movement of light, such as car trails or star trails. Experimenting with different creative techniques can help you push the boundaries of traditional night photography and capture truly unique and stunning images.
By incorporating these techniques into your repertoire, you’ll be able to take your night photography skills to the next level and create breathtaking visuals that truly stand out.
In mastering night photography, understanding the basics, choosing the right gear, mastering exposure settings, and utilizing creative techniques are essential. Now armed with this knowledge, it’s time to hit the streets and start capturing breathtaking night shots.
Remember, practice makes perfect, so keep experimenting and honing your skills. Let your creativity shine through the lens and illuminate the night with your unique style. As the saying goes, “The night is darkest just before the dawn.” So go out there and create your own dazzling light in the world of night photography.